Inkscape Setup Guide
This guide shows the steps to setup Inkscape for creating icons that conform to the Featherity design guidelines.
Setting up The Canvas
When opening a new document, Inkscape will create a canvas of a default size. To change the size to 24x24:
- Open the Document Properties dialog (File -> Document Properties).
- On the “Page Size” tab, under “Custom Size” set the Units to
pxand set both Height and Width to 24.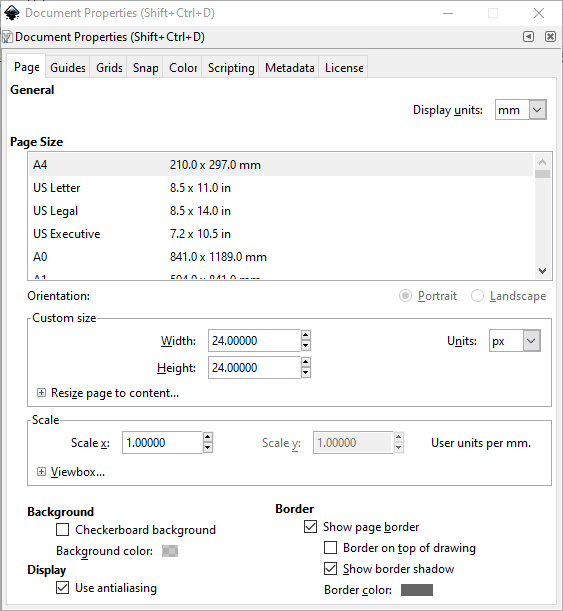
- On the “Grid” tab, select
Rectangular Gridand click “New Grid”.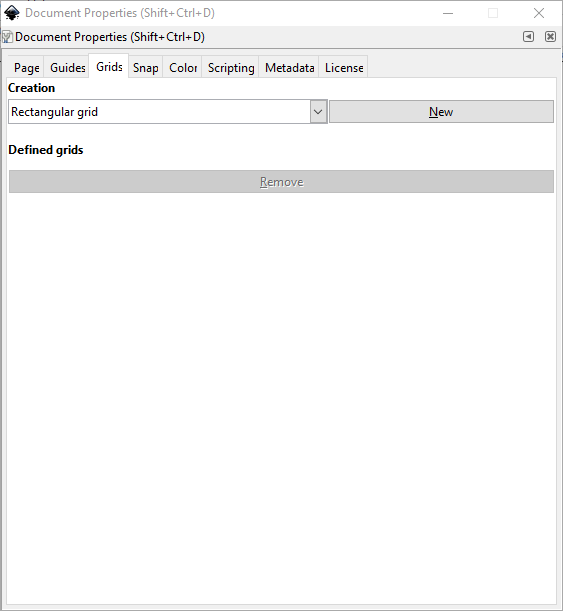
- Set the Grid Units to
pxand set Spacing X and Spacing Y both to 1.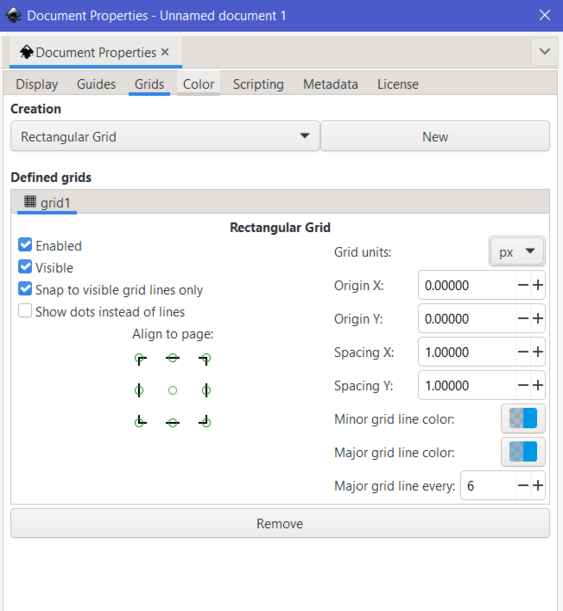
- Close the Document Properties dialog.
- To center the canvas in the viewport, select View -> Zoom -> Drawing.
Setting up The Paths
- Create a path or shape.
- With the path selected, open the Stroke and Fill panel by pressing
Ctrl+Shift+Fon your keyboard.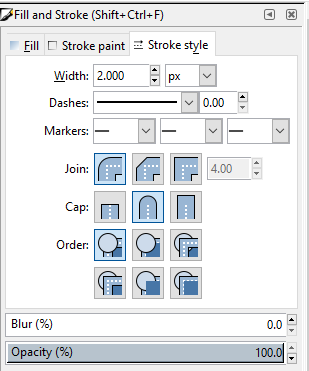
- On the “Stroke Style” tab:
- Set Stroke Width to
2px. - Select the rounded join type.
- Select the rounded cap type.
- Set Stroke Width to
- If the shape is a rectangle, select the rectangle and in the top of the screen below the menu bar, set
RxandRyto2px.
Saving A File
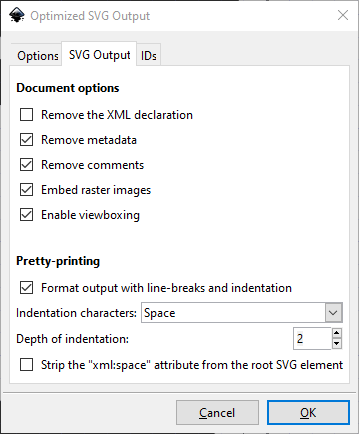
- When ready to save the file, click Save As and select “Optimized SVG” as the file type.
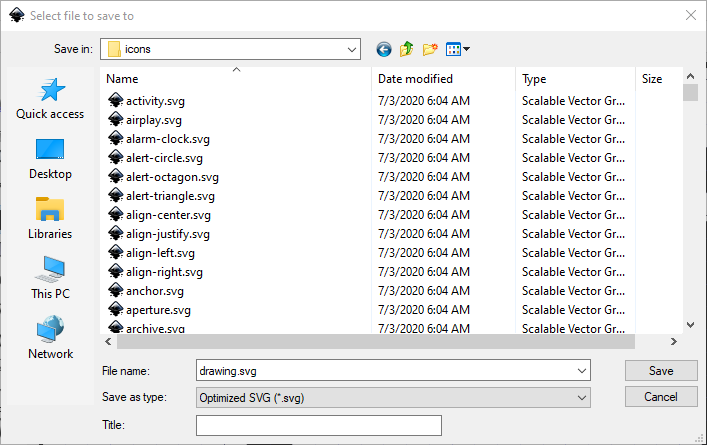
- After clicking Save, to conform with the other icons in the package, set Pretty Printing to use spaces and set the indentation depth to 2.
